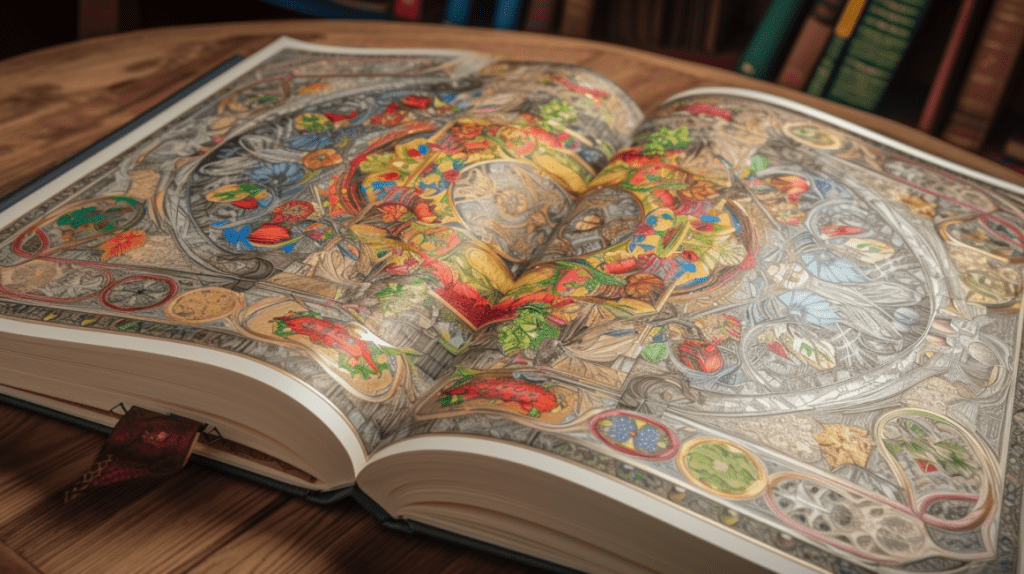
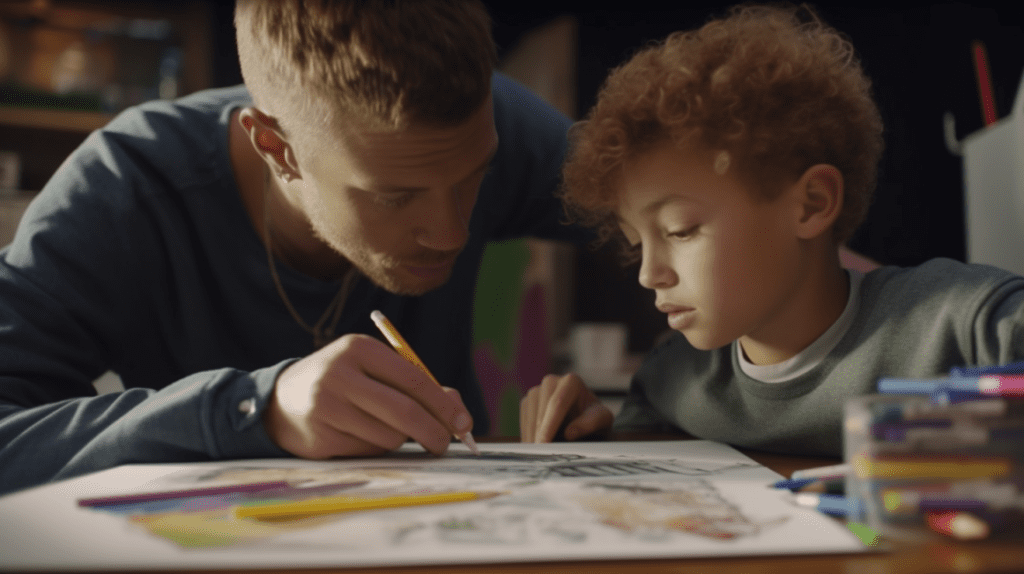
People from all walks of life love coloring books for their stress-relieving and creative benefits. It’s a wonderful way to unwind, express yourself artistically, and find inner calm amidst the hustle and bustle of daily life. If you’re an avid coloring enthusiast, why not take it up a notch and create your own customized coloring space?
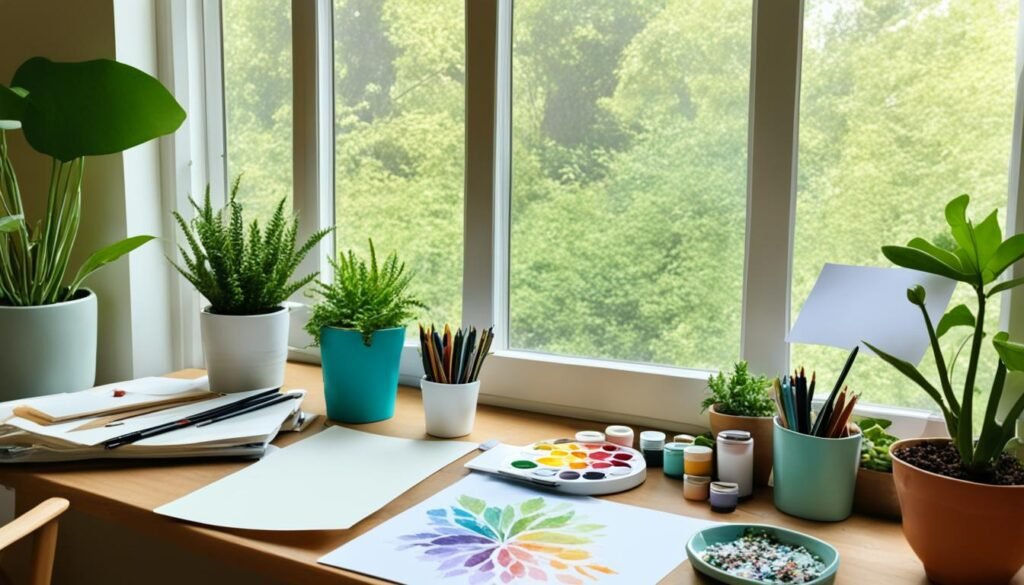
Designing a personal coloring area allows you to have a dedicated space where you can fully immerse yourself in the art of coloring. From the furniture to the decor, every element can be tailored to suit your preferences and create an atmosphere that enhances your creative experience. Whether you have a spare room, a cozy corner, or even just a small nook, you can transform it into your own little haven for coloring.
Key Takeaways:
- Creating your own coloring space provides a personalized and perfect environment for relaxation and artistic expression.
- Designate a specific space in your home where you can focus and relax while coloring.
- Consider adding comfortable seating, good lighting, and storage for your coloring supplies to enhance your coloring experience.
- Personalize your coloring space with decorations, inspirational artwork, or other elements that create a calming atmosphere.
- Having a customized coloring space allows you to fully immerse yourself in the therapeutic benefits of coloring and unleash your creativity.
Setting Up Your Coloring Area
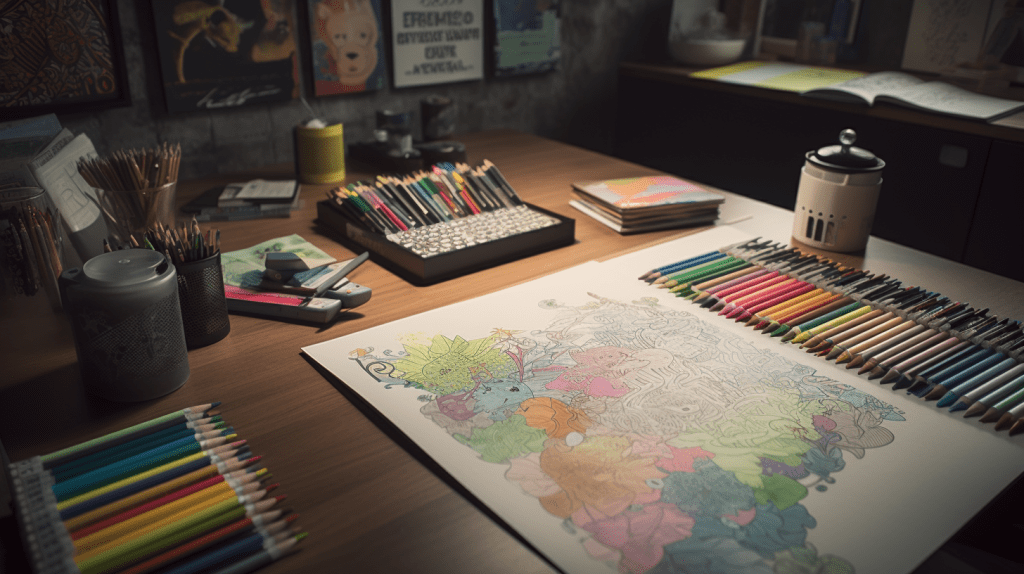
When it comes to creating your own coloring space, the first step is to designate a specific area in your home where you can focus and relax. This dedicated space allows you to immerse yourself in the world of colors and creativity.
Here are some ideas to help you set up your personalized coloring area:
Create a Comfortable Seating Arrangement
- Choose a comfortable chair or cushion that provides good support for your back.
- Add a cozy throw blanket or cushions for added comfort.
Optimize Lighting for a Pleasant Coloring Experience
- Ensure that your coloring area is well-lit to avoid eye strain.
- Utilize natural light as much as possible by positioning your coloring space near a window.
- Consider using a desk lamp or adjustable lighting to provide targeted illumination.
Organize Your Coloring Supplies
- Choose a storage solution that suits your needs, such as a drawer organizer, caddy, or shelf.
- Separate your coloring tools, such as pencils, markers, and crayons, to keep them easily accessible.
Add Personal Touches to Create a Calming Atmosphere
- Decorate your coloring area with items that inspire you, such as plants, artwork, or motivational quotes.
- Hang a bulletin board or use magnetic clips to display your favorite coloring pages or finished artwork.
By designing a personalized coloring space, you can create an oasis of relaxation and creative expression. Take the time to set up your coloring area according to your preferences, and enjoy the therapeutic benefits of coloring in a space that truly feels like your own.
Organizing Your Coloring Supplies
Keeping your coloring supplies organized is essential for an enjoyable coloring experience. By having a systematic approach to organizing your coloring books, pencils, markers, and other tools, you can create a clutter-free and efficient space. Here are some helpful tips for organizing your coloring supplies:
1. Storage Containers and Shelves
Invest in storage containers or a dedicated shelf to keep your coloring supplies neatly arranged. Use containers with compartments to separate different types of coloring tools and prevent them from getting mixed up. Clear containers or transparent bins allow you to easily see what’s inside.
2. Sorting by Theme or Style
Consider sorting your coloring books by theme or style to make it easier to find the ones you want to work on. You can categorize them by subjects like animals, landscapes, mandalas, or by artistic styles such as realism, abstract, or doodle art. This way, you can quickly locate the coloring books that inspire you.
3. Dividers and Labels
Use dividers or labels to further organize your coloring supplies. Dividers can be placed in a container or on a shelf to separate different types of coloring tools. Labels help you identify containers, shelves, or sections dedicated to specific supplies, making it effortless to find what you need.
By implementing these organizing techniques, you can create a tidy and functional coloring space. This not only reduces clutter but also enhances your creativity, allowing you to focus on your coloring projects without the frustration of searching for misplaced tools or books.
Creating a well-organized coloring area makes your coloring experience more enjoyable and efficient. With everything in its place, you can delve into your coloring book collection and unleash your creativity with ease.
Creating a Customized Coloring Book
Designing your own coloring book allows you to unleash your creativity and personalize each page to your liking. With the help of digital design tools like PicMonkey, you can bring your imagination to life and create a unique coloring experience. Here’s how:
1. Open a Blank Canvas
Start by opening a blank canvas in PicMonkey. This provides you with a fresh slate to design your coloring book pages. Choose the desired dimensions for your coloring book, ensuring it’s suitable for printing.
2. Set Crop and Bleed Marks
Before adding graphics and text, set crop and bleed marks on your canvas. These marks ensure that your design doesn’t get cut off during the printing process and gives you a better understanding of the final outcome.
3. Personalize Each Page
Let your creativity guide you as you add graphics, text, and other elements to personalize each page of your coloring book. Incorporate themes, quotes, or inspirational messages that resonate with you or your intended audience. Experiment with different fonts, colors, and layouts to make each page visually appealing.
4. Incorporate Public Domain Illustrations
If you’re looking for additional artwork to include in your coloring book, consider incorporating public domain illustrations. These are images whose copyright has expired or been waived, allowing you to use them freely without legal restrictions. Websites like Pixabay and Pexels offer a wide selection of high-quality, copyright-free illustrations that you can incorporate into your designs.
5. Convert Your Artwork into Coloring Pages
If you’re an artist yourself, why not turn your own artwork into coloring pages? Scan or digitally capture your drawings, then use photo editing software to convert them into black and white line art. This allows you to share your original creations with others, letting them color in your unique designs.
6. Finalize Your Design
Once you’re satisfied with your coloring book design, take some time to review each page and make any necessary adjustments. Ensure that the lines are clean and crisp, the text is legible, and the overall design is aesthetically pleasing. Proofread the text for any spelling or grammatical errors.
7. Download and Print
When you’re ready to bring your coloring book to life, download your design as a PDF file. This format ensures that your book will print correctly without any loss of quality. Then, print your coloring book using high-quality paper that is suitable for coloring.

A customized coloring book offers a wonderful opportunity for self-expression and relaxation. Whether you create one for yourself or as a special gift for someone else, the process of designing your own coloring book allows you to exercise your creativity and provide hours of enjoyment. Start creating your personalized coloring book today!
Adding Multi-Page Features to Your Coloring Book
If you want to create a multi-page coloring book, you have the option to utilize the multi-page tool in design software like PicMonkey. This feature allows you to add up to 30 pages to your design, giving you the freedom to create a larger collection of coloring pages for a more immersive coloring experience.

By adding multiple pages to your coloring book, you can provide more variety and options for coloring enthusiasts. This is especially useful if you want to explore different themes or styles, or if you simply want to have a larger collection of printable coloring pages.
“Creating a multi-page coloring book allows you to offer a diverse range of designs, providing hours of coloring enjoyment for both children and adults alike.” – Sarah Johnson, Coloring Book Enthusiast
To add pages to your coloring book, you can simply duplicate existing pages and make small modifications, or you can create entirely new pages from scratch. The multi-page tool makes it easy to manage and organize your design, ensuring a seamless and cohesive coloring book experience.
| Benefits of a Multi-Page Coloring Book | Examples |
|---|---|
|
|
No matter what approach you choose, creating a multi-page coloring book allows you to offer a diverse range of designs, providing hours of coloring enjoyment for both children and adults alike.
Design Inspiration for Coloring Books
When creating your coloring book, it’s important to draw inspiration from various themes and styles that resonate with you. This will not only make your coloring book unique but also bring your creative vision to life. Consider exploring different coloring book themes, styles, and illustrations to make your creations stand out.
Fairytale/Storybook Themes
If you have a love for enchanting tales and magical creatures, incorporating fairytale and storybook themes into your coloring book can transport you to a whimsical world. From princesses and knights to mythical creatures and castles, these themes offer endless possibilities for creating captivating coloring pages.
Anatomical Illustrations
For those with an interest in science and the human body, incorporating anatomical illustrations into your coloring book can be both educational and artistic. From detailed skeletal structures to intricate organ systems, these illustrations allow you to explore the beauty and complexity of the human form.
Art Nouveau Styles like Alphonse Mucha
The Art Nouveau movement, popularized by artists like Alphonse Mucha, is characterized by its intricate and decorative style. Drawing inspiration from this artistic period can result in coloring pages filled with flowing lines, nature motifs, and delicate details.
Retro and Vintage Ads
For a nostalgic touch, repurposing vintage ads from the past can give your coloring book a retro feel. These ads often feature bold typography, vibrant colors, and nostalgic imagery that can add a unique flair to your coloring pages.
Public Domain Images
When designing your coloring book, don’t overlook the treasure trove of public domain images available. Public domain images are artworks or illustrations whose copyrights have expired, allowing you to use them freely. This opens up a world of possibilities for incorporating vintage illustrations, historical artwork, and more into your coloring book.

By combining your chosen coloring book themes, styles, and vintage illustrations or public domain images, you can create a collection of coloring pages that truly reflect your unique artistic vision.
Preparing Images for Coloring Books
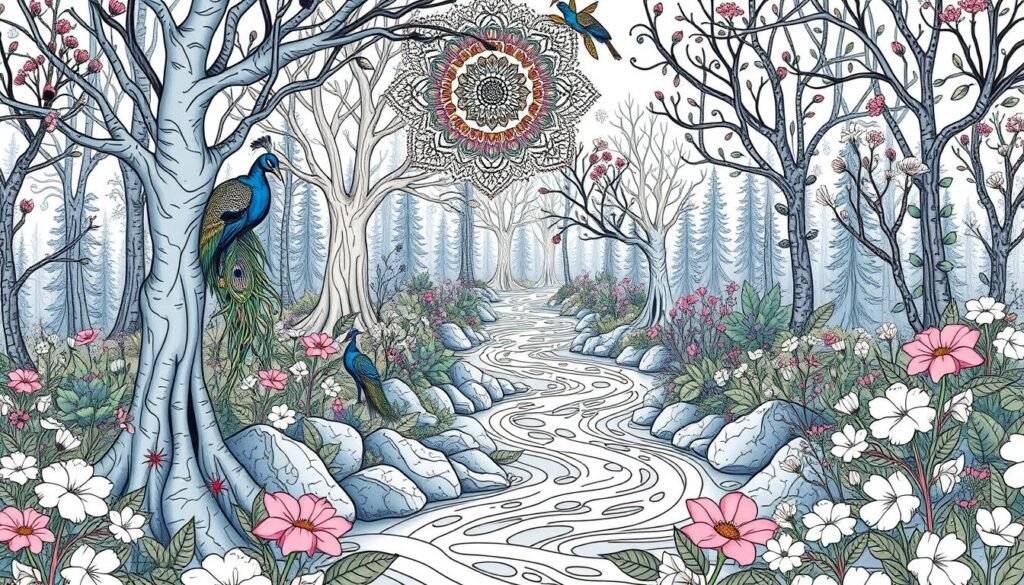
To create beautiful coloring pages for your coloring book, you’ll need to prepare the images by converting them into line art and adjusting the image contrast. With the help of photo editing tools like PicMonkey, you can easily transform full-color images into black and white illustrations that are perfect for coloring.
First, open the image you want to convert in PicMonkey. Then, locate the option to convert the image to line art. This feature will trace the outlines of the objects in the image, creating clean and crisp lines that are ideal for coloring. Experiment with different line art styles to find the one that suits your aesthetic preferences.
Next, it’s important to adjust the image contrast to enhance the clarity of the lines. By making the light areas of the image lighter and the dark areas darker, you can create a more distinct contrast between the lines and the background. PicMonkey offers various tools and effects like the Tri-X and Warhol effects, which can help you fine-tune the contrast settings.

Once you’re satisfied with the conversion and contrast adjustments, save the image as a high-resolution file. This will ensure that the lines are sharp and well-defined when printed.
Remember to experiment with different effects and settings to find the look that best suits your coloring book. Whether you prefer intricate designs or simple illustrations, the process of preparing your images for coloring will make them more enjoyable to color and bring your coloring book to life.
Printing and Binding Your Coloring Book
Once you have finished designing your coloring book, it’s time to bring it to life by printing and binding it. Here are some steps to follow:
Printing Your Coloring Book
There are two options for printing your coloring book:
- Printing at Home: If you have a printer at home, you can print your coloring book pages directly from your computer. Make sure to use high-quality paper to enhance your coloring experience and ensure that the colors look vibrant. You can adjust the print settings to ensure the best quality output.
- Printing at a Local Print Shop: If you want a more professional finish, consider taking your coloring book to a local print shop. They have high-quality printers and a variety of paper options to choose from. Discuss your requirements with them to achieve the desired results.
Binding Your Coloring Book
Once your pages are printed, the next step is to bind them together. Here are some DIY binding techniques you can try:
- Stapling: The simplest method is to staple the pages together along the spine. This works best for smaller coloring books with fewer pages.
- Hole Punch and Binder Rings: Punch holes along the side of the pages and thread binder rings through them. This allows for easy page turning and customization.
- Sewing: For a more elaborate and durable binding, you can sew the pages together using a needle and thread. This method is recommended for larger coloring books with a higher page count.
Experiment with different binding techniques to find the one that suits your coloring book the best.
By printing and binding your own coloring book, you have complete control over the final product. Whether you choose to print at home or seek professional printing services, and whether you staple, use binder rings, or sew the pages, the end result will be a unique and personalized coloring book ready to bring joy and relaxation to your coloring sessions.
Now that your coloring book is ready, it’s time to set up your personalized coloring space. In the next section, we’ll guide you through creating a customized coloring space that enhances your creativity and relaxation.
Conclusion
Crafting your coloring space allows you to create a personalized art zone that fosters relaxation and unleashes your creativity. By following the steps outlined in this article, you can set up a comfortable area specifically designed for coloring, organize your supplies efficiently, and even design your own coloring book.
Engaging in coloring activities offers numerous therapeutic benefits, from reducing stress and anxiety to promoting mindfulness and self-expression. With a customized coloring space, you can fully immerse yourself in the coloring experience, allowing your imagination to soar and your artistic talents to flourish.
Remember, your coloring space is your sanctuary, where you can indulge in the joys of coloring and enjoy moments of tranquility. Choose a soothing color palette for the room, add inspirational artwork, and surround yourself with everything that sparks your creativity. Whether you prefer to color alone or with friends and family, your personalized art zone will provide the perfect backdrop for relaxation and self-discovery through coloring.
So go ahead, embark on this journey of self-expression and creativity. Create your own coloring space, organize your supplies, and let your imagination run free. Discover the joy and therapeutic benefits of coloring as you find solace and inspiration in your own little corner of the world.
FAQ
How can I create my own coloring space?
To create your own coloring space, designate a specific area in your home that is comfortable and relaxing. Consider adding comfortable seating, good lighting, and storage for your coloring supplies. Personalize the space with decorations or inspirational artwork.
How can I organize my coloring supplies?
You can organize your coloring supplies by using storage containers or a dedicated shelf. Sort your coloring books by theme or style and consider using dividers or labels to keep everything neat and accessible.
How can I create a customized coloring book?
You can create a customized coloring book by using digital design tools like PicMonkey. Open a blank canvas, add graphics and text to personalize each page, and then download it as a PDF to print it out.
How can I add multi-page features to my coloring book?
To add multi-page features to your coloring book, use design software like PicMonkey. You can add up to 30 pages, duplicating or creating new ones as needed, for a more immersive coloring experience.
Where can I find design inspiration for coloring books?
You can find design inspiration for coloring books in various themes or styles that inspire you. Consider fairytale/storybook themes, anatomical illustrations, Art Nouveau styles, or repurposing vintage ads for a retro feel. Public domain images offer a wealth of options for creating unique coloring pages.
How can I prepare images for coloring books?
You can prepare images for coloring books by using photo editing tools like PicMonkey. Convert full-color images into black and white line art, adjust the image contrast, and experiment with different effects to find the best look for your coloring book pages.
How can I print and bind my coloring book?
You can print your coloring book on your home printer or take it to a local print shop for professional printing. Consider using high-quality paper for a better coloring experience. To bind your coloring book, you can use simple techniques like stapling, using binder rings, or sewing the pages together.
Why should I create my own coloring space?
By creating your own coloring space, you can have a personalized art zone that promotes relaxation and creativity. It allows you to have a dedicated area where you can focus and enjoy the therapeutic benefits of coloring.

